Model Number:BHT-6000
Origin:Mainland China
Certification:CE
Power Supply:95-240VAC, 50~60HZ
Fan Relay Amps:Resistance: 5A, Inductive: 3A
Valve Relay Amps:Resistance: 3A, Inductive: 1A
Sensor:NTC3950, 10K
Accuracy:+/- 0.5'C
Set Temperature Range:5 -35'C
Dispaly Temperature Range:5 ~ 99'C
Ambient Temperature:0 ~ 45'C
Ambient Humidity:5 ~ 95% RH (Non Condensing)
APP:Smart Life/ Tuya
Voice Control:Alexa / Google Home
ZigBee or WiFi Smart Touch Thermostat LCD Screen Backlight Water Heating Electirc Floor Heating Water Gas Boiler Temperature Controller Alexa Google Home
Note:
Model: STT-6000-GA / STT-002-GB / STT-002-GC Do not include Wi-Fi Function.
Model: STT-6000-GALW / STT-002-GBLW / STT-002-GCLW Include Wi-Fi Function.
Model: STT-6000-GALZ / STT-002-GBLZ / STT-002-GCLZ Include ZigBee Function, should work with
ZigBee Hub
.
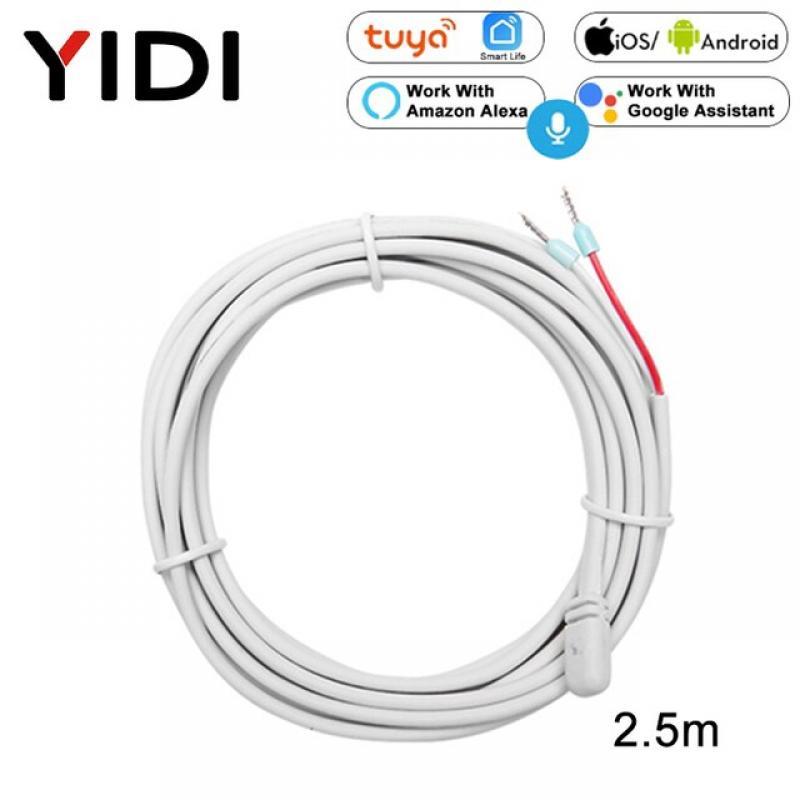
Sensor is not included for GA/GC. If needed, choose sensor also.
Model Definition:
[STT-6000-GA]:
Water Heating 3A
[STT-6000-GB]:
Electric Floor Heating 16A
[STT-6000-GC]:
Water/Gas Boiler 3A
[STT-6000-GALW]:
Water Heating Wifi Voice Contorl 3A
[STT-6000-GBLW]:
Electric Floor Heating Wifi Voice Control 16A
[STT-6000-GCLW]:
Water/Gas Boiler Wifi Voice Control 3A
[STT-6000-GALZ]:
Water Heating ZigBee Voice Contorl 3A, work with Zigbee Hub
[STT-6000-GBLZ]:
Electric Floor Heating ZigBee Voice Control 16A, work with Zigbee Hub
[STT-6000-GCLZ]:
Water/Gas Boiler ZigBee Voice Control 3A, work with Zigbee Hub
If need ZigBee Gateway Hub, click photo below to buy:
Modbus or RS485 is Optional. If needed, contact us before place order.
On Functionality
1. Powerful Functions Are Available Such as BACnet/Modbus/Wifi etc.
2. 0.5℃ Accuracy Keeps temperature within the level you set
3. ℃ & ℉ is changeable (Customized Function)
4. Data Memory when power is off
5. 5+2 Six periods Programmable Maximize Comfort and Economy
Technical Data
Type: Water Heating/Electric Heating/Water Gas Boiler
Sensor: NTC, 10K
Accuracy: ±0.5℃ or ±0.1℉
Set Temp. Range: 5-35℃
Room Temp. Range: 5-99℃
Power Consumption: <1.5W
Timing Error: <1%
Power Supply: 95-240VAC, 50-60Hz
Current Load: 3A(Water heating, water/gas boiler)
16A(Electric heating)
Shell Material: PC+ABS(Flame retardant)
Dimension: 86x86x13.3mm
Ambient Temp.: 0-45℃, 5-90% RH (non-condensing)
Storage Temp.: -5-45℃
Installation Hole Distance: 60mm
Protection Level: IP30
Buttons: Capactive Touch Buttons
Wire Terminals: Wire 2*1.5mm² or 1*2.5mm²
Packing List
Thermostat x1 + Screw x2 + English Manual x1
Floor Sensor is included for Electric floor heating thermostat.
GA and GC is not included, if needed, choose together when place order.
What Can Offering
1. [Energy Saving]: Low consumption and energy saving. Help you save money
2. [Program]: Thermostat works automatically during holidays in programmable mode
3. [Kid Lock]: Kids lock function avoid kids mis-operate the thermostat
4. [Dual Sensor]: Integrated Sensor to measure air temperature
5. [Memory]: Built-in Battery, setting can be recovery even cutting electric power or power failure
Specification
1. Power on/off, turn the thermostat on/off
2. Mode Key, switch between Manual & Program mode
3. Clock Button Mode, set minute, hour, and weekday
4. Up Button, adjust the settings
5. Down Button, adjust the settings
Button Function
A. Room Temperature Mode
B. Heating On
C. Weekday Display
D. Room Temperature Display
E. Heating
F. Time Display
G. Manual Mode
Integrated Sensor
Back
GA is for water heating;
GB is for electric heating;
GC is for water/gas boiler;
Control From Anywhere
Turn on your device before you come back home
Intelligent Temperature Control
Functional Application
GA is for Water Heating
Fits for water heating only
GB is for Electric floor heating
Fits for electric floor heating only
GC if for Water/Gas Boiler
Fits for water/gas boiler only
INSTALLATION
Your thermostat is suitable for installation within a standard 86mm pattress box or European 60mm pattress box
Step 1. Keep power off. See Fig 1
Step 2. Remove the mounting Plate by rotating the LCD part. See Fig 2.
Step 3. Connect power supply, load into the appropriate terminals. (see "Wiring your thermostat" for details and Fig 3).
Step 4. Fix the mounting plate into the wall with screws in the box. See Fig 4.
Step 5. Fasten body of the thermoatat and the mounting plate through rotating. See Fig 5.
Step 6. Installation complete. See Fig 6.


